Quick Start Guide
CallFire provides user-friendly, intuitive voice and text connectivity products to over 100,000 businesses. The company is dedicated to providing high-availability systems, intuitive user interfaces, furious developer support, and unparalleled customer care. Many customers chose our platform and its API to build their businesses. This guide shows how easy to set up an integration with CallFire platform.
Register a CallFire Developers' account
Account registration is FREE, easy, and can be done in a few steps:
- Go to CallFire Developers UI
- Click on Create an account link
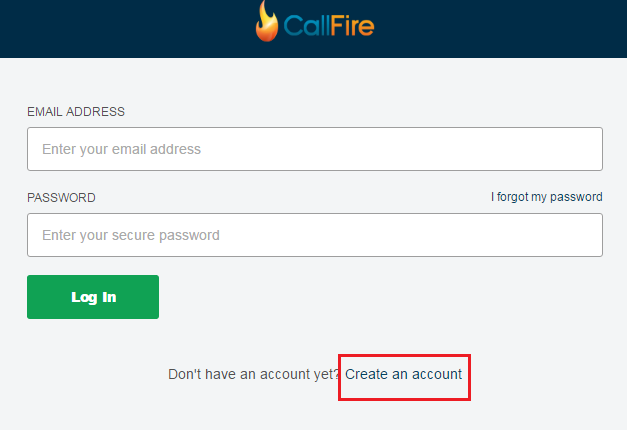
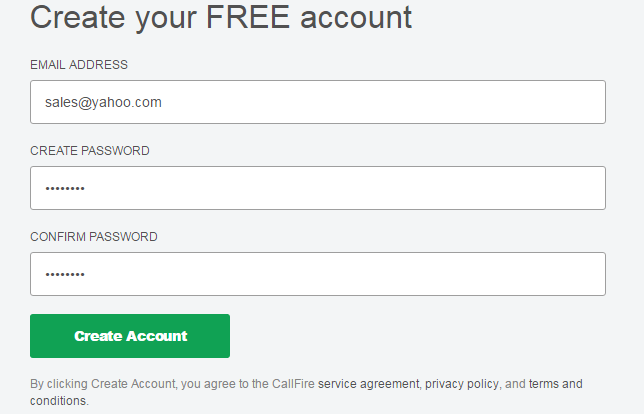
- Type your email address and strong password.
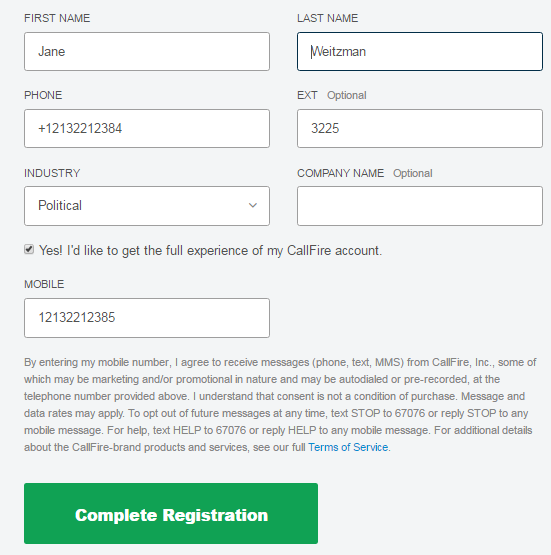
- Fill in optional information about yourself and click on the Complete Registration button
Once you register an account, you can start using CallFire Developers' UI to send out calls, texts, broadcasts, etc.
Please note that API credentials are different from your account's credentials. To use the CallFire API, you should generate API credentials either on the Developers' UI Settings page or use the special API for that which accepts your account credentials.
How to Generate API Credentials
All CallFire APIs accept API credentials except Credentials APIs which use your regular account credentials.
You can generate new API credentials in two steps:
Log in to your CallFire account.
Click either on 'API Access' on the left navigation menu or go to the account's 'Settings' page and open the 'API Access' tab.
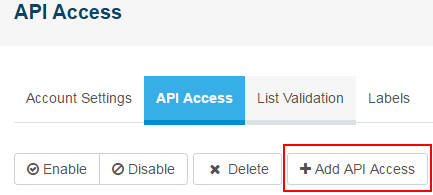
Once you click on the 'Add API Access' button, a new pop-up window appears.
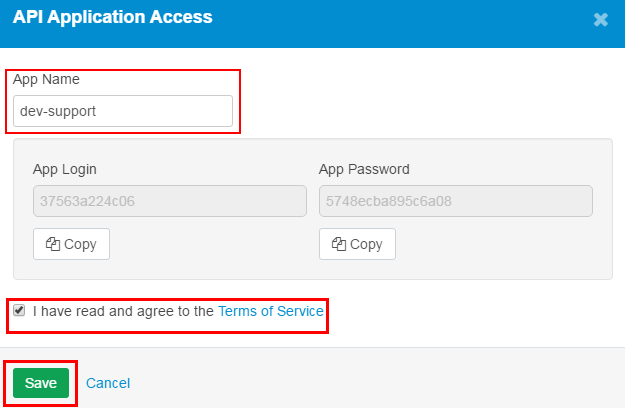
Enter any application name to identify your credentials, check "I have read and agree with Terms of Service" and confirm by clicking the 'Save' button. After that, the App login and password will be generated automatically.
Note that we do not offer test accounts, but we can provide a small amount of free credits. If you need more credits for testing please contact our support.
Authenticate your API requests
The CallFire API v2 uses HTTP Basic Authentication to verify the user of an endpoint. A generated username/password API credential is required for this step (see 'How to Generate API Credentials'). To use HTTP Basic Authentication, an Authorization header must be sent.
Example of generated API credentials
Username: a6343cc4edd6
Password: c2d77eec4aa3e224
The header that the user sends looks like this:
Authorization: Basic a6343cc4edd6:c2d77eec4aa3e224
That is all that is needed to authenticate to the CallFire API.
CallFire API SDKs
CallFire provides an open-source Software Development Kit (SDK) for several programming languages to allow clients to integrate their systems with CallFire very quickly. Follow the SDK link for your programming language, and there you can find instructions on how to add an SDK package to your project.
| API ver. | Language | Link |
|---|---|---|
| 1.1 | PHP | CallFire-PHP-SDK |
| 1.1 | C#.NET | CallFire-CSharp-SDK |
| 1.1 | Java | callfire-api-1.1-client-java |
| 2.0 | Java | callfire-api-client-java |
| 2.0 | C#.NET | callfire-api-client-csharp |
| 2.0 | Javascript | callfire-api-client-js |
| 2.0 | Python | callfire-api-client-python |
| 2.0 | PHP | callfire-api-client-php |
Next Steps
Discover CallFire Swagger Interface https://www.callfire.com/v2/swagger-ui/index.html where you can find JSON model schemas and execute the CallFire API right from your browser (requires API credentials in the right upper form).
You can learn more about CallFire API on our LEARN page. There you can find useful guides with code samples which shows how to
- Purchase new phone numbers and/or keywords
- Manage sound files which can be played to recipient
- Upload and manage your contacts
- Set up Webhooks to start receiving notifications from CallFire
See the following guides about different use-cases of CallFire's products using API:
- Web Based Business Uses Two-Factor Authentication - sends individual calls and short messages
- Medical Center Sending Reminders and Notifications - shows how to send an individual text and voice reminders with an interactive voice menu
- Political Campaign Conducting a Poll - send a voice broadcast to a number of recipients and collect recipient's answers.
- Non-Profit Agency Soliciting Donations - shows how to set up voice or text broadcasts, subscribe to CallFire's events, query statistics, responses, etc.
- Advertising Agency Tracking the Success of Advertisements - purchase phone numbers and set up call tracking.
and don't forget to visit following links to
See API reference documentation for more information about all available API methods.
Verify a Caller ID
A numerical caller ID (caller identification, CID) is displayed on the recipient’s phone as it rings. Caller identification lets your customers, employees and business contacts know you're calling them. CallFire allows you to set your phone number as a caller ID.
How to set up the Caller ID
CallFire provides two ways to add a Caller ID to your account. Let's take a look how to do that.
through Developers' UI
- go to the Settings page and find the 'Caller IDs' section
- type in your phone number and click the 'Send' button
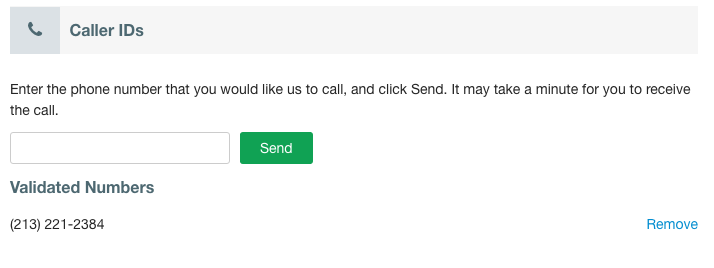
- you will receive a phone call with a verification code; put it into the field and click the 'Verify' button
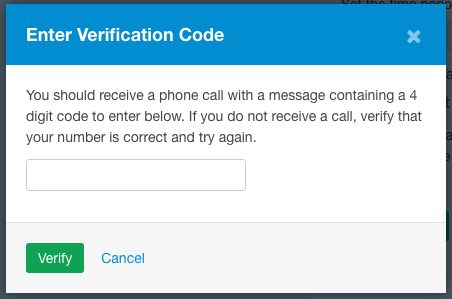
- now you can use your number as a FromNumber for outbound calls.
through the CallFire API
- send a POST request to /me/callerids/{callerid}, where {callerid} is your phone number. This operation sends a verification code to the phone number provided in the path. The verification code is delivered via a phone call. This code needs to be submitted to the verify the Caller ID API endpoint (see the next step).
curl -u "username:password" -H "Content-Type:application/json" -X POST "https://api.callfire.com/v2/me/callerids/12135551175"
- send a POST request to /me/callerids/{callerid}/verification-code with the verification code in payload as shown in the example below. The API operation returns 'true' if the code is accepted, or 'false' if the code is wrong.
curl -u "username:password" -H "Content-Type:application/json" -X POST -d '
    {
        "verificationCode":"1234"
    }' "https://api.callfire.com/v2/me/callerids/12135551175/verification-code"
You may use several Caller IDs within one account.